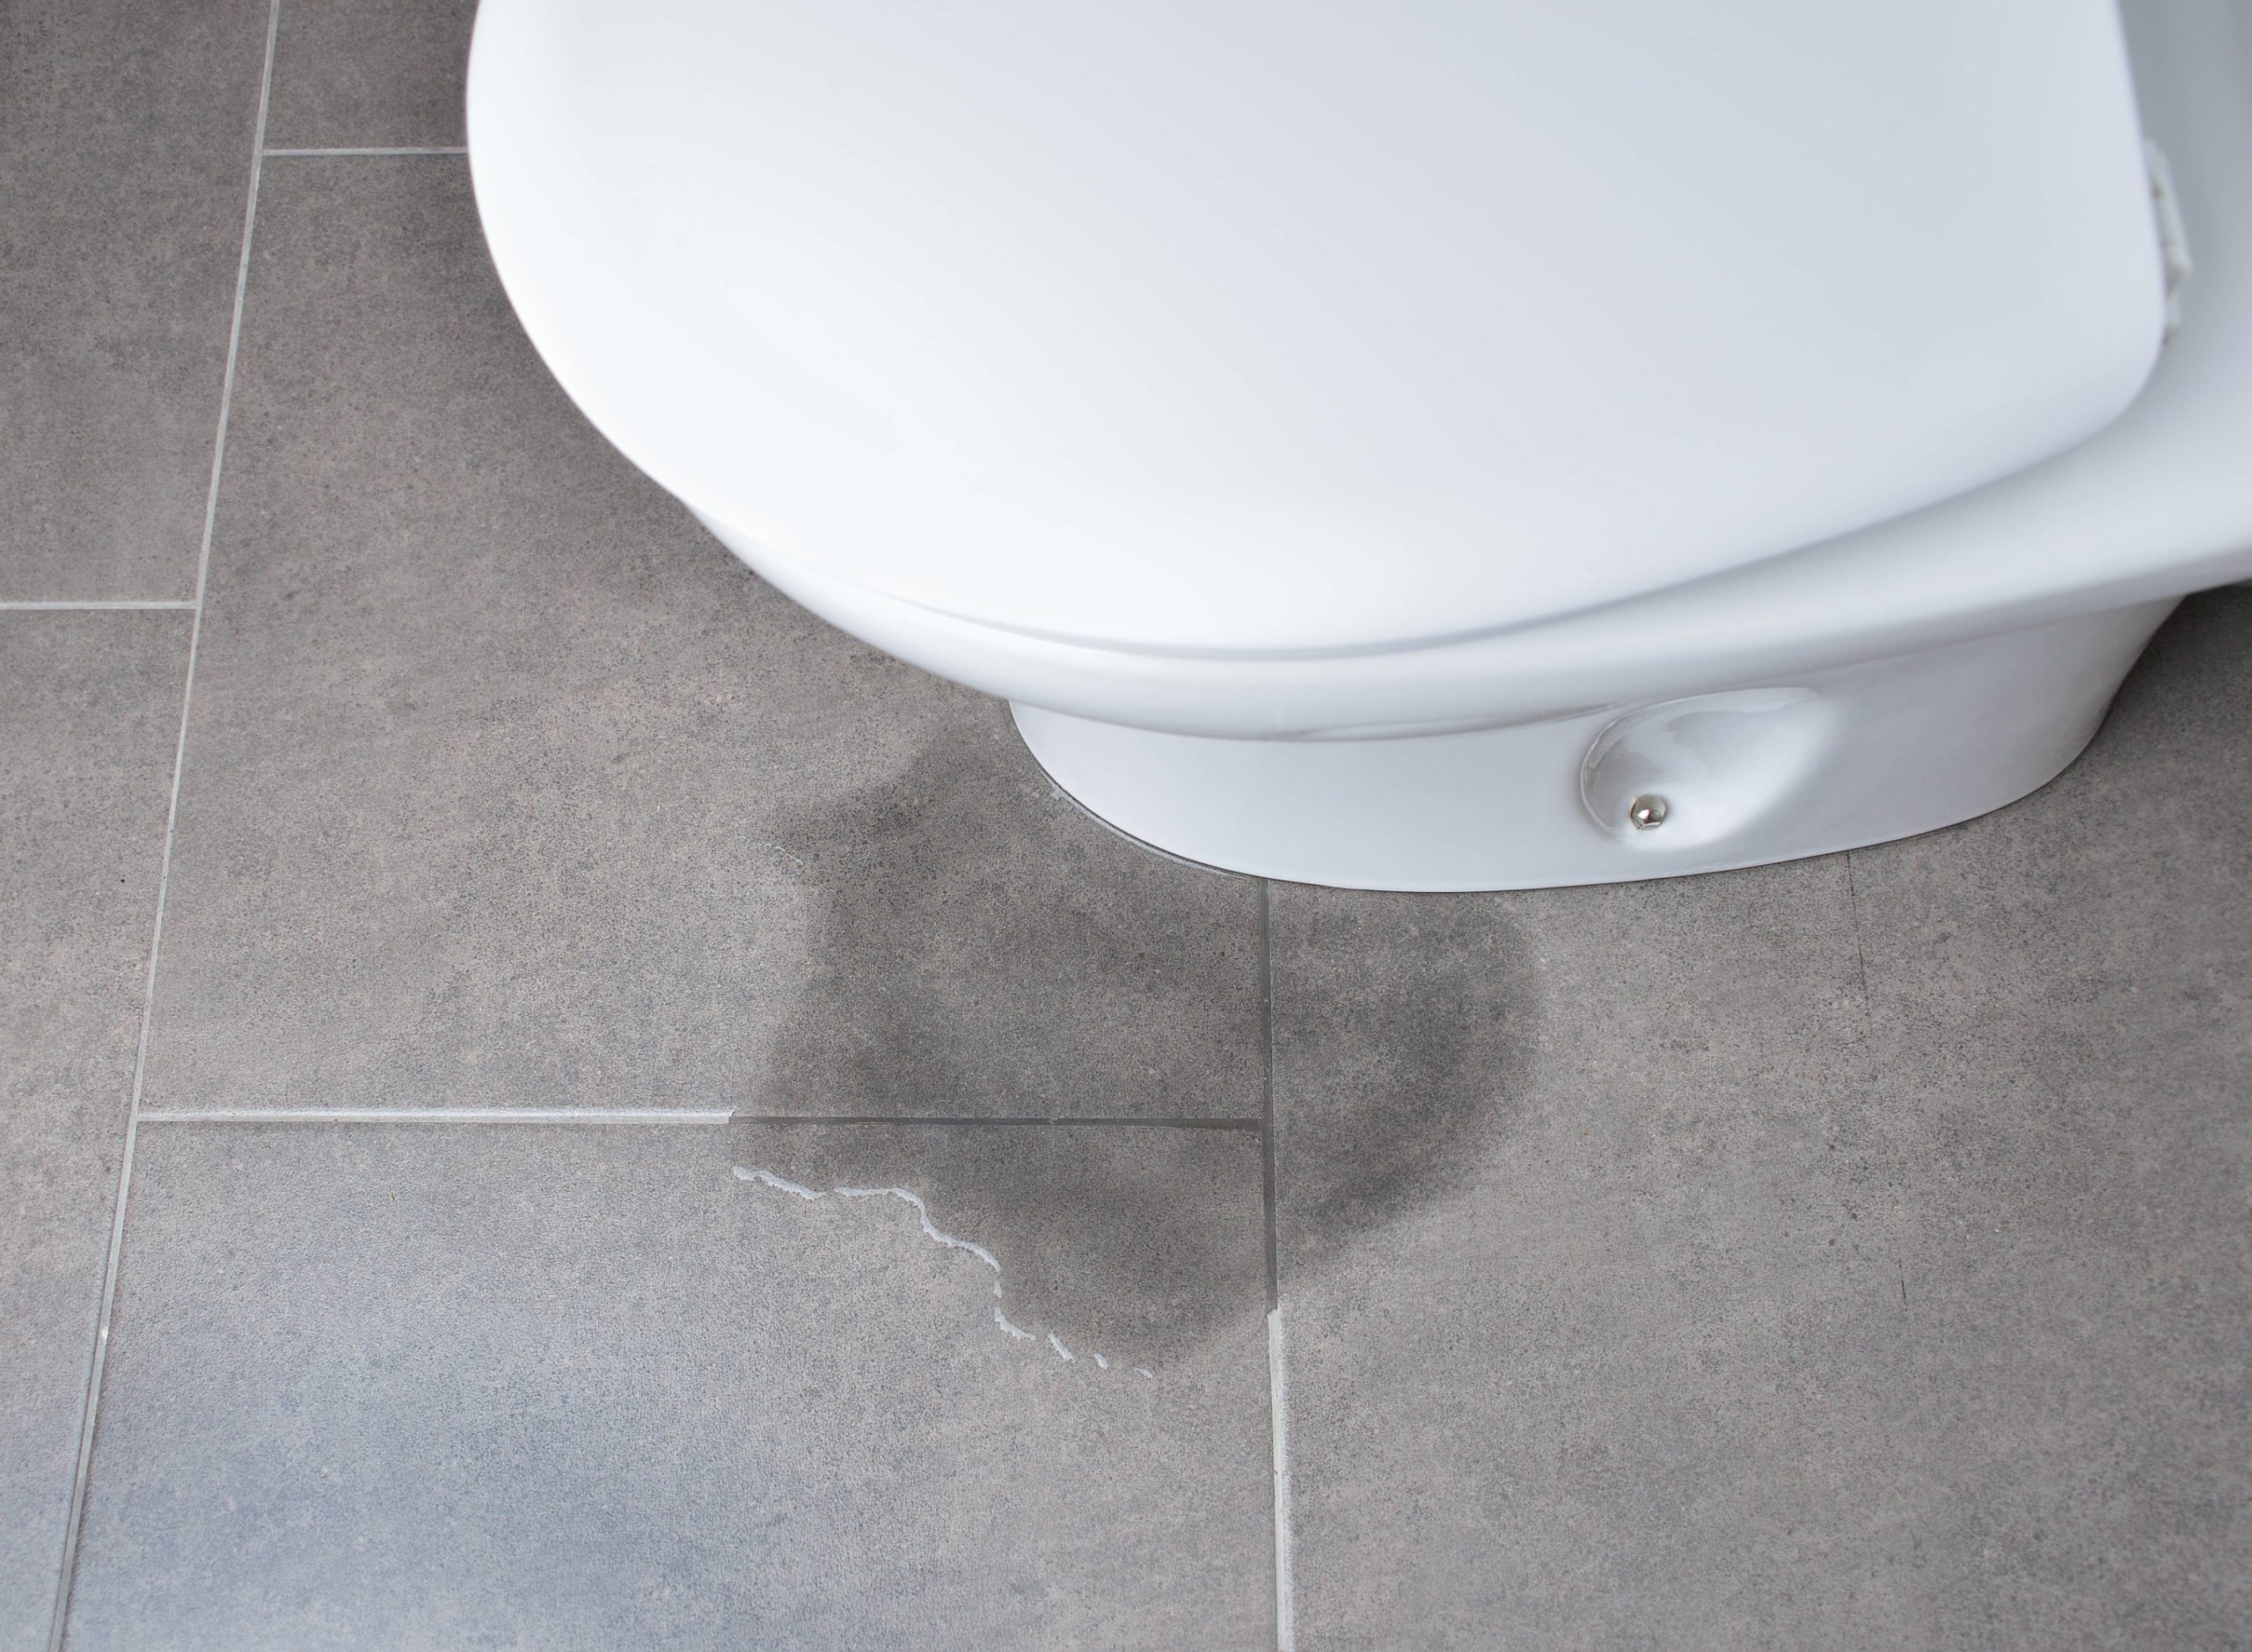
We have all heard the joke that my “toilet is running and I better catch it!” It is funny but for some reason, there is no joke about when the toilet is leaking at the base. The good thing is that if the toilet is leaking at the base, this can be fixed.
What do you do? Well, first start with the top of the toilet and tank, and see if there is water leaking. Next, move to the t-bolts and make sure they are in place, and then check the wax ring. Lastly, you may need to replace the toilet or caulk. Let’s take a look at water leaking from the base, three areas to check, replacing the toilet, and caulking.
Water Leaking? Stop Using the Toilet
Anytime that you see water leaking at the base of the toilet, you want to stop using it. This water that is coming out is likely full of bacteria and is settling on your floor. The water is damaging the floor and possibly what is underneath it. Make sure you use a towel to clean up the water and don’t let it sit for long.

Signs of a Possible Water Leak in the Bathroom
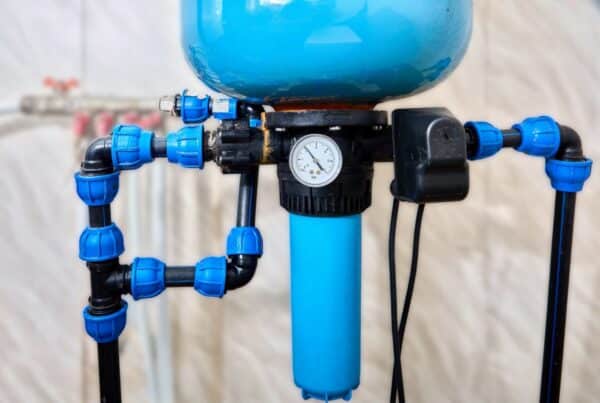
Does the water continue to run in the toilet? This may also be a sign of a water leak and you can do a simple test with the water meter:
- First, check the number on the water meter and write it down.
- Then, turn off the water in the home for 3 hours.
- Lastly, after 3 hours have passed, check the number on the water meter. If you find the number has increased, then you have a leak in the indoor plumbing and need to call a professional.
After you do this, then check the three areas below.
Three Areas to Check When Toilet Leaking at Base
1.Tank Lid
Look at the highest point on the toilet first. Take off the tank lid and make sure there is no water leaking from there. Sometimes if the toilet is running (like in my joke above), it will flow over the sides and cause a puddle on the floor. If you don’t see this happening, then you need to move on to the T-bolts.
2. T-bolts
These are on the floor of the base of the toilet, usually under a plastic covering. Their job is to attach the toilet to the floor. Sometimes, the coverings may be difficult to remove so you may need a putty knife or screwdriver to help.
Often, these bolts can become loose and water will leak out of the bowl. Use a wrench and check to make sure the bolts are tight, but not too tight. The goal is to keep the water from leaking out but not break the porcelain on the toilet.
3. Wax Ring
The wax ring seals the toilet to the drain pipes. Over time, this does wear off and may need to be replaced. However, this does involve removing the toilet and putting it to the side. If you have ruled out everything else and don’t feel comfortable removing the toilet, call a professional for help.
If it’s not the tank and not the T-bolts, it is time to remove the toilet. This is a great time to call a professional. Not only to remove the toilet for you, but check the seal, and diagnose the problem.
Replacing the Wax Ring When Toilet Leaking at Base
If you decide to do this yourself, watch the video above or follow these instructions below:
If it’s not the tank and not the T-bolts, it is time to remove the toilet.
1. Turn Off the Shut Off Valve for the Water to the Toilet
Behind the toilet is a water valve. Turn this clockwise and this will turn off the water. Don’t see it? Check the crawl space or the basement that is directly below the toilet for the valve. You might have a “push/pull” valve type which requires you to pull the handle to shut off the water.
2. Take the Tank Lid Off the Toilet
Then, flush the toilet, hold the handle, and drain the rest of the water from the tank. If there is water in there, use a sponge or a cup to get it out.
3. Disconnect the Water Supply Tubing
This is the process where you will be removing the toilet so you need to make sure you have disconnected the tubing. To do this:
- The shut-off valve has a compression nut that needs to be loosened
- Take the caps off the closet bolts and use a wrench to remove the nuts
- Lean down and grab the toilet bowl. Rock the toilet back and forth carefully to get it to separate from the wax ring.
- Lay it down carefully on a blanket or towel
- Scrape the old wax off the toilet and the floor. Have gloves and trash bags ready so you have a place to put the residue. Make sure the slots for the drain flange are cleared out for the T bolts.
- Put the new ring over the opening and the plastic cone should be facing into the drain
- T bolts should be in proper position over the openings in the drain
- Carefully pick up the toilet, place it over the drain and line up the T bolts. Then, put pressure on the toilet, pushing it into the wax ring and help it create a water tight seal.
- Put the T-bolts back on and make sure they are secure.
- Don’t forget to reconnect the waterline.
- Allow the toilet to refill and then practice flushing it so you know it is connected the right way and there are no leaks.
Replacing the Toilet
Removing the toilet can be difficult but placing it back can be even more difficult because of lining it up correctly over the hole in the floor. This is why calling a professional might be a better choice than doing this on your own.
What if you find that it is time to replace the toilet? You may decide to if the toilet has an old chrome-plated copper supply tube. Think about using a flexible one made of stainless steel-enmeshed polymer instead. This will also help make the replacing of the toilet easier.
If you have clogging issues, constant leaks, cracks in the base of the porcelain, or the toilet breaks while putting it back it may be time to replace it. You may even think about investing in a toilet that uses less water and saves you money.

Caulking at Toilet Base
Once you have your current toilet or new toilet in place, it is time to think about caulk. Some home inspectors may say caulk is not a good idea because it may mask a leak.
However, others will say it is a good idea because it is aesthetically pleasing to look at and makes the toilet look nice on the flooring. Many building codes require it. The International and Uniform plumbing codes state:
- International Plumbing Code (2012 edition), Chapter 4, Section 405.5 states: Joints formed where fixtures come in contact with walls or floors shall be sealed.
- Uniform Plumbing Code (2009 edition), Chapter 4, Section 407.2 states: Where a fixture comes in contact with the wall or floor, the joint between the fixture and the wall or floor shall be made water-tight.
Reasons to Use Caulk
One, the caulk holds the toilet in place on the floor. Second, you want to seal it so there is no smell coming out of the separation between the toilet and the floor.
When grout is used on the tile, it is hard to make it fit evenly around the toilet and it doesn’t absorb water; this is where caulking comes into play and is the better choice.
Toilet on the second floor? If there is a water leak from the toilet, you can see it on the ceiling below. If you do use caulk, a mildew-proof tile and tub caulk is recommended.
When you caulk, leave open the front of the base and the back. This will allow water to drain if you are cleaning the floor or there is a water leak.
When to Call a Professional When Toilet Leaking at Base
- Need help diagnosing the issue
- Need help moving the toilet
Conclusion
Diagnosing an issue with the toilet can be complicated. You want to check everything before you contact a professional. If you feel this job is too difficult, or you have questions, please leave a reply below!


