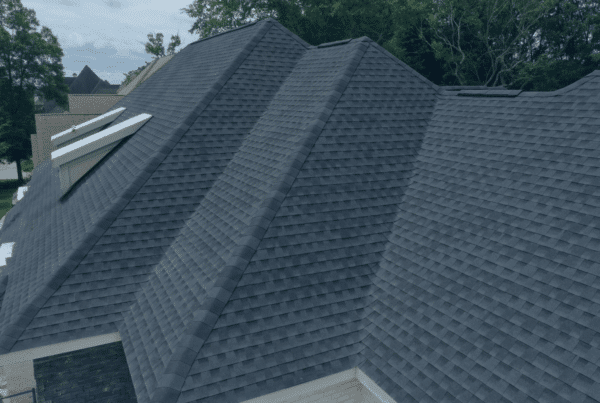
There are many topics that come into discussion when it comes to a roof. When you are buying or selling a home, it is vital that you educate yourself on the roof of the home. In addition, knowing how your roof works is also just as important. Making sure that all roofing needs are inspected and completed is vital to the longevity of your home. Not only are there pipes and chimneys on your roof, but there are also various vents. What is a ridge vent? Aluminum or mesh material is installed under the last layer of shingles, at the ridge or peak of the roof. These vents keep the air out.
Let’s take a look below at the job of the ridge vent and why you might need one to work properly.
When is a Ridge Vent Needed
Any roof that sits on top of an attic space can require a ventilation system. Ridge vents allow for hot air to circulate out of the attic as needed. Often, ridge cap shingles are installed on top of the ridge vent to ensure a clean and finished look to the roofing system (depending on the type of ridge cap vent installed).
You always want a clean and smooth look on your roof, with no gaps exposed. Luckily, in this ridge vent system, convection pushes the air to the peak of the roof and allows it to escape through the ridge vents. Also, it is considered a passive system and is efficient at ventilating the attic space of your home. This saves on your attic space cooling costs. This can be more efficient than just the soffit vent.

How to Install a Ridge Vent
If you get excited about this project and decide that you can install a ridge vent on your own, here are the steps to ensure the vent works. Additionally, make sure that you follow it as detailed as stated, or you are better off calling a professionally licensed roofing contractor.
- Remove the cap shingles from your roof ridge and then the wood sheathing.
- Next, insert the vent plugs and connect the ridge vents to your connectors.
- Then, ensure that the ends of the vent are cut tightly and fit the ridge vents.
- Keep your fastened ridge vents lined up with the appropriate slots of the roof ridge.
- Connect the ridge vents to their connectors using nails.
- Place straps over the final connected ridge vents to lock them in place.
Pros and Cons of a Ridge Vent
Adding a ridge vent provides various amounts of ventilation to your attic. Let’s take a look at the Pros for adding a roof ridge vent.
- Heat in the attic is reduced, which allows for your home to remain cooler and more comfortable.
- Lowers the electric bill by reducing the amount of workload on your HVAC unit.
- Allows your roof the ability to prevent ice dams from forming.
- Moisture buildup decreases, which reduces the chance of leaks.
- Heat is able to escape from your roof and attic, which extends the longevity of your shingles.
Cons
Just like any project being created, we should also look at the cons associated with ridge vent installations.
- Unfortunately, ridge vents can leak during heavy rain. This is very common with anything extra regarding the roof. Making sure that they are water-tight is key to a successful ridge vent.
- Ridge vents are meant to provide proper ventilation, however, not all homes may get this depending on their energy-efficient nature.
- The ability of ridge vents to maintain a cooler climate in the attic depends upon where you live. These vents may not be the best option for a warmer climate.
How Much Does It Cost
Depending upon where you live, determines how much a new ridge vent installation can cost you. The national average for a new ridge vent is $300 to $650 depending upon material and labor costs. Don’t be surprised if the total project costs you on the high side of the $650 because of your roofing needs.
Other Recommended Maintenance
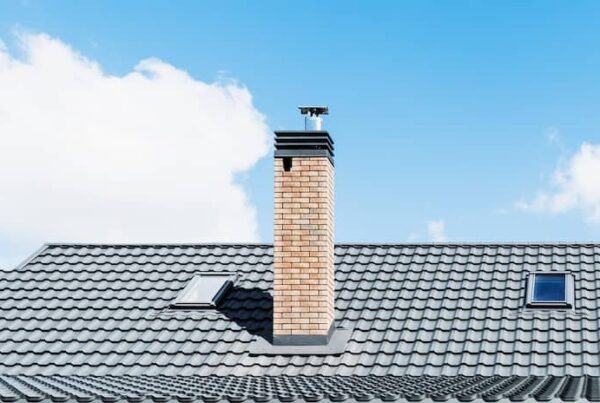
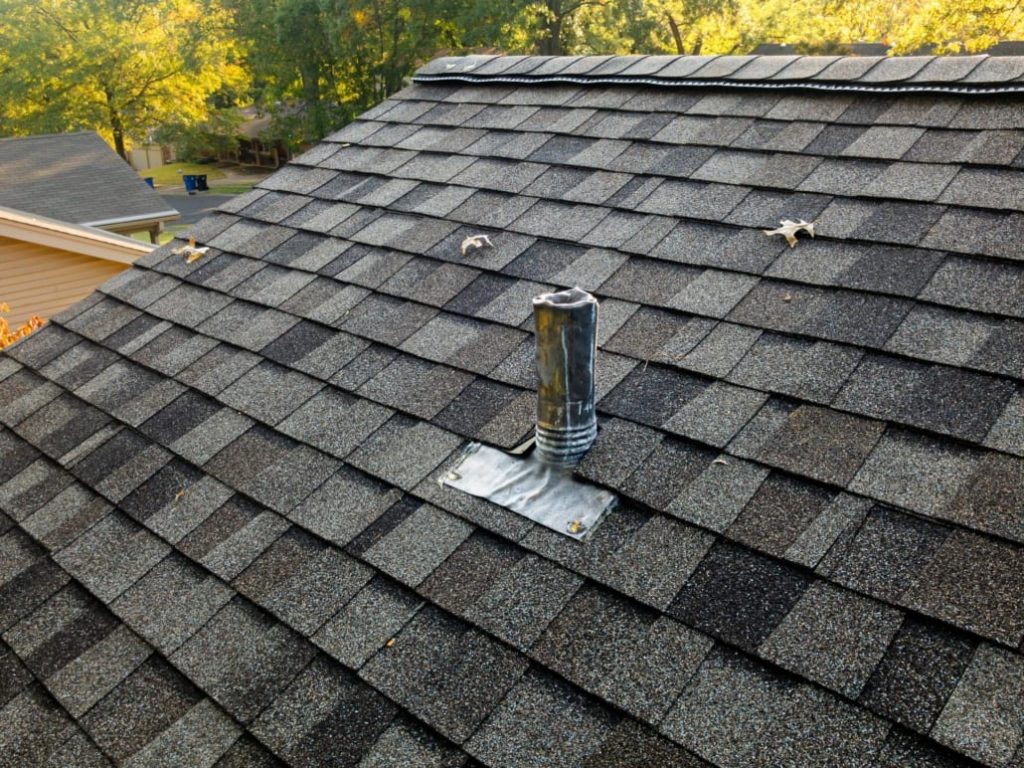
While taking a look at the existing ridge vents or thinking about adding them, you will also want to do a roof inspection checklist. You will be looking at the flashing, shingles, exposed nails, downspouts, vents, roof decking, roof sheathing, and gutters. Making sure all of these are intact is important.
Another area to look at is the dryer vent if yours goes to the roof. This needs to be cleaned and you can do this yourself with a garbage bag, removing the vent screen, and using a vacuum or a special brush.
Lastly, you can also check for moss on your roof. If you see it, you can hose off the roof, use a cleaning solution, and add zinc strips to keep it from coming back. You don’t want moss to be growing on the roof as it can grow through the shingles and cause the shingles to lift up, allowing water into the home.
When to Call a Professional
Calling a professionally licensed roofer is definitely a priority for installing a ridge vent. Many projects seem exciting to complete and often have a reduced risk for the homeowner. However, when it comes to a roof, hiring a licensed professional is vital.
There are various roofing codes and requirements and if you as the homeowner mess this project up, it could cost you a lot more money. Call on your local home inspection team first, so that they can refer a reputable professionally licensed roofing contractor in your area.
Conclusion
Anytime you are talking about a roofing project it is always best to have your roof inspected first. Various weather conditions can prompt various roofing coding and you want to make sure that all codes are followed. If you are in the springtime and looking to add a ridge vent, then having a roof inspection is key. Making sure that the rain, snow, or winds have not damaged the roof further is vital to saving money. Call on Boggs Inspection Services to get your yearly home roof inspection completed in the Lacey, WA, and surrounding areas.